

 Antarctica
 Argentina
 Bolivia
 Chile
 Colombia
 Ecuador
 Guyana
 French Guiana
 Falkland Islands (Malvinas)
 Paraguay
 Peru
 Suriname
 Uruguay
 Venezuela
 Germany
 Austria
 Belgium
 Croatia
 Denmark
 Slovakia
 Slovenia
 Spain
 Finland
 France
 Greece
 the Netherlands
 Hungary
 Ireland
 Iceland
 Italy
 Luxembourg
 Norway
 Poland
 Portugal
 the United Kingdom
 the Czech Republic
 Sweden
 Switzerland
 Turkey
 Bermuda
 Canada
 the United States
 Greenland
 Mexico
 Saint Pierre and Miquelon
 the Dominican Republic
 Japan
 South Africa
 Egypt
 Australia
 Fiji
 New Zealand
 Papua New Guinea
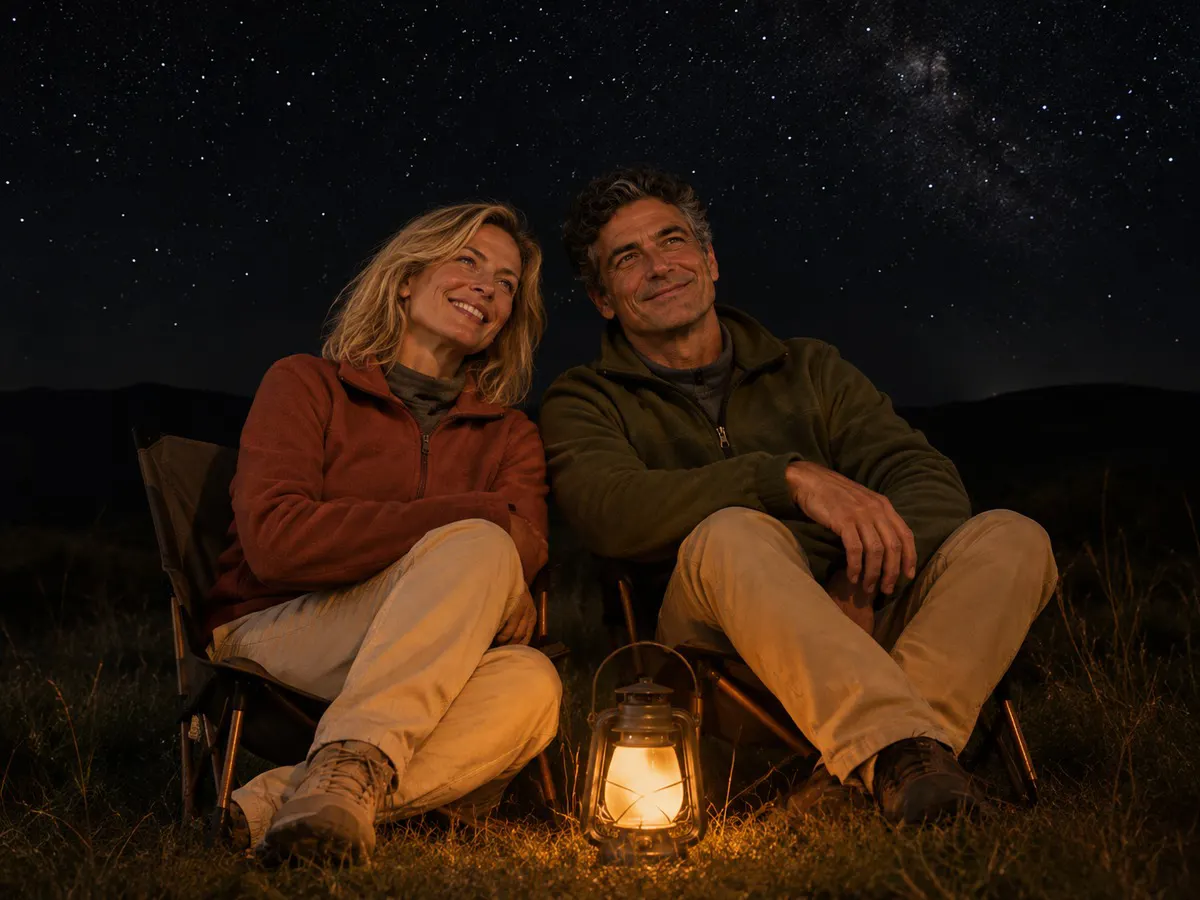
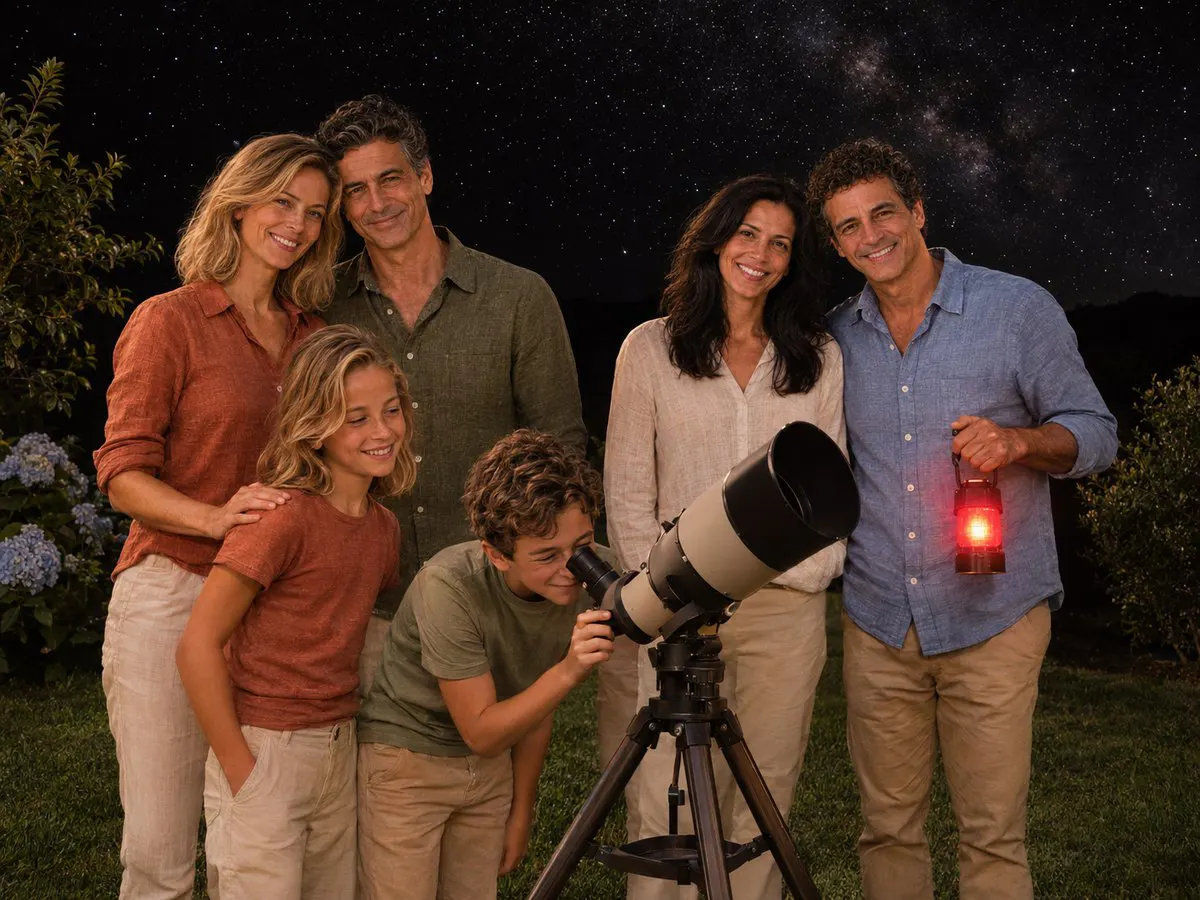
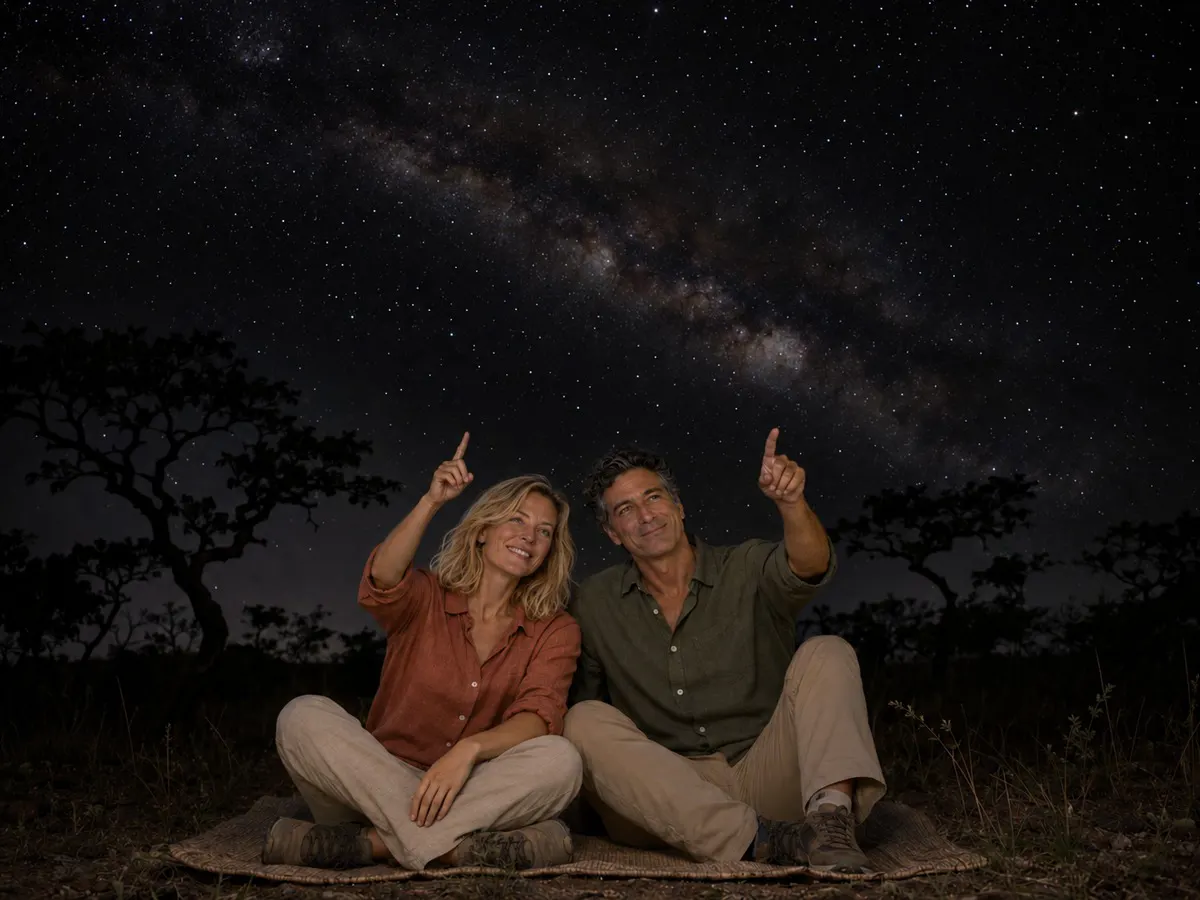
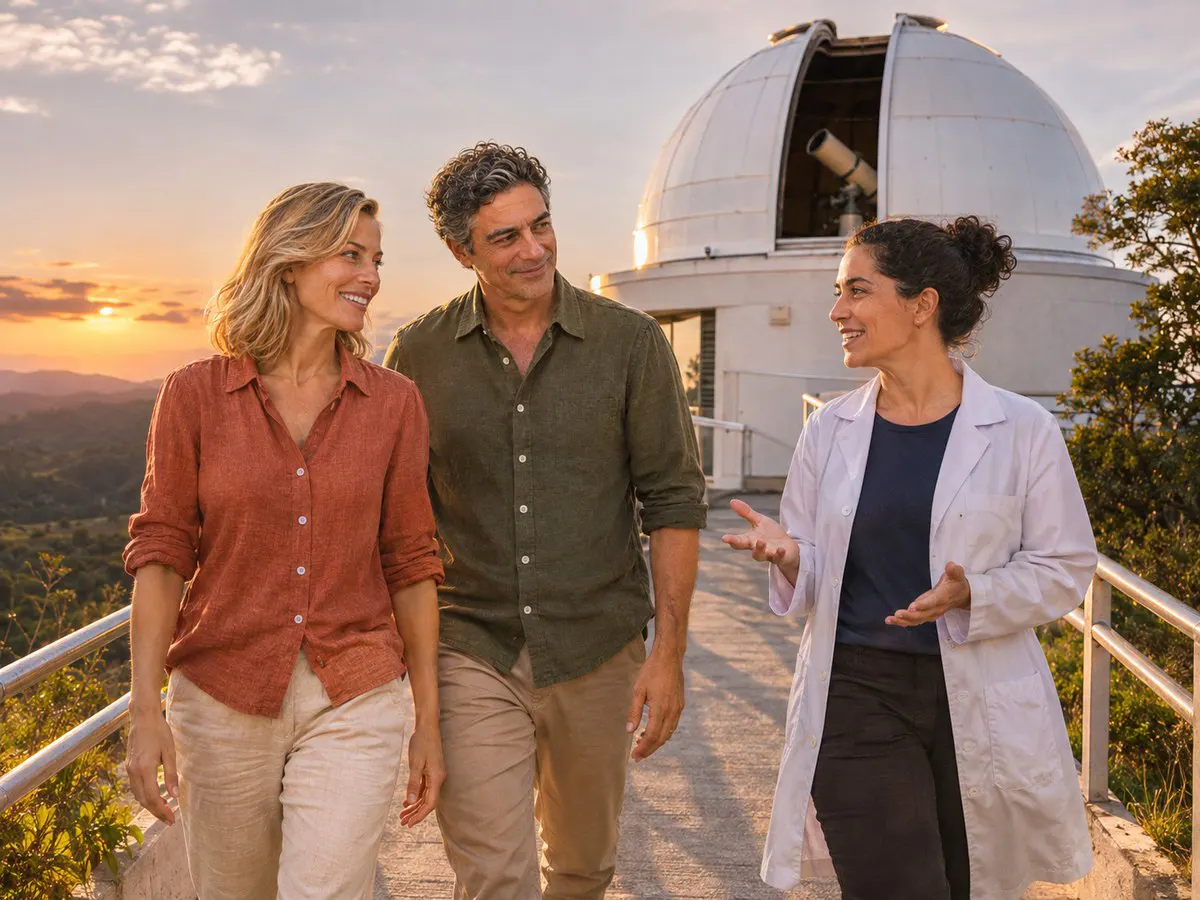
Illustrative images. The pictures in this guide are illustrations based on the real place, not photographs, and may differ from it.


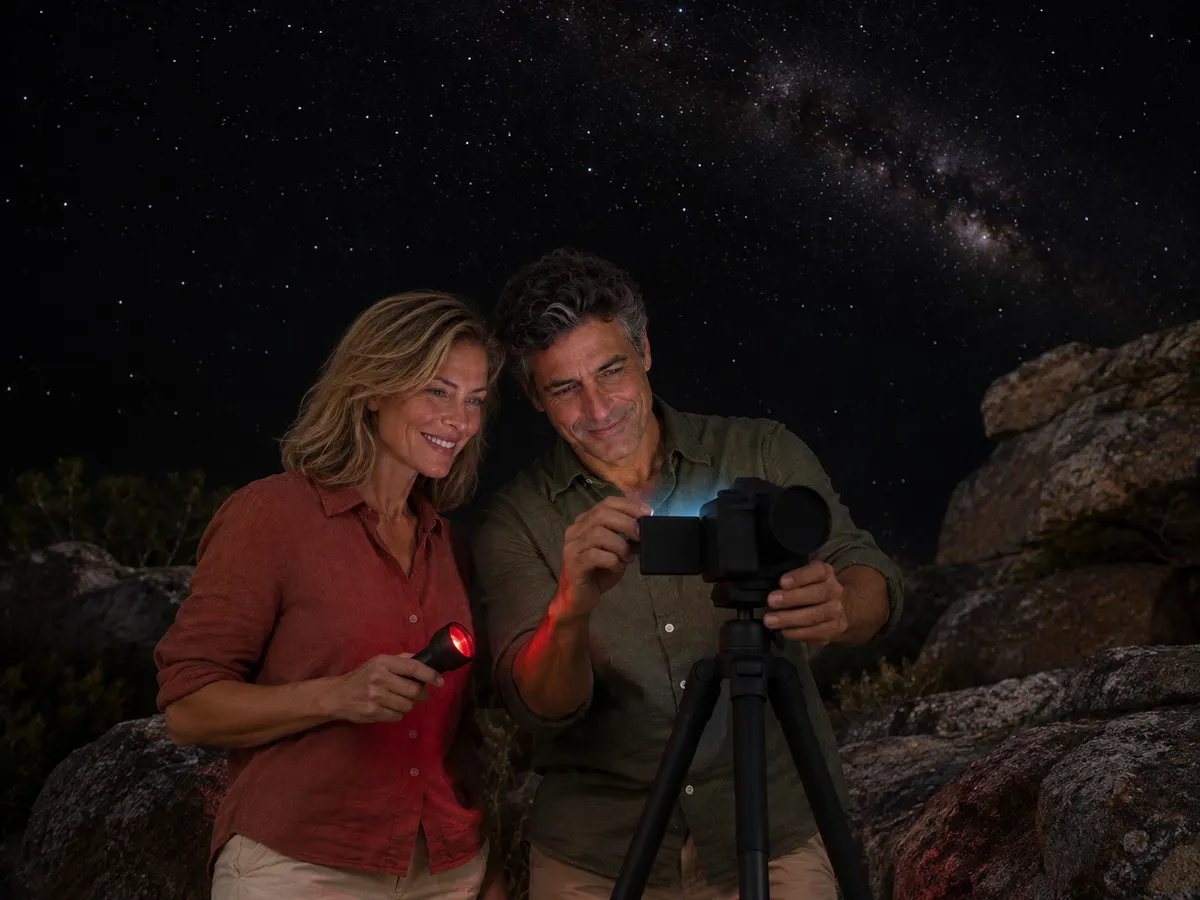
Astrotourism
Sky photography
With a tripod and long exposures, you can capture the Milky Way and star trails.
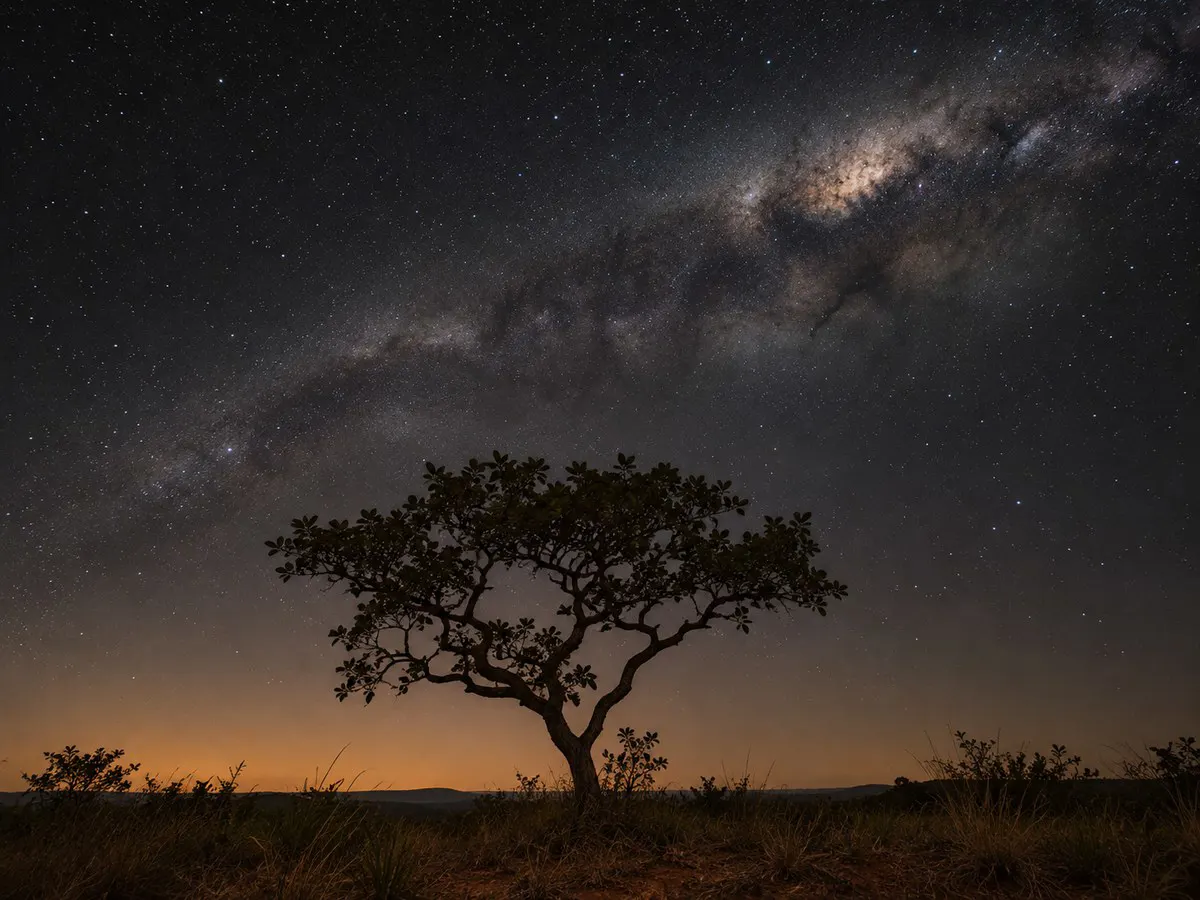
Photographing the night sky is capturing what the eye cannot accumulate. The camera leaves the shutter open for several seconds and adds up the faint light of the stars until the Milky Way appears with color and detail. The most common type practiced while traveling is nightscape: the sky with a foreground of a tree, rock, dune, or building.
It doesn’t require a telescope. It requires a dark place, a tripod, and a few simple rules you can learn in one night.
Equipment
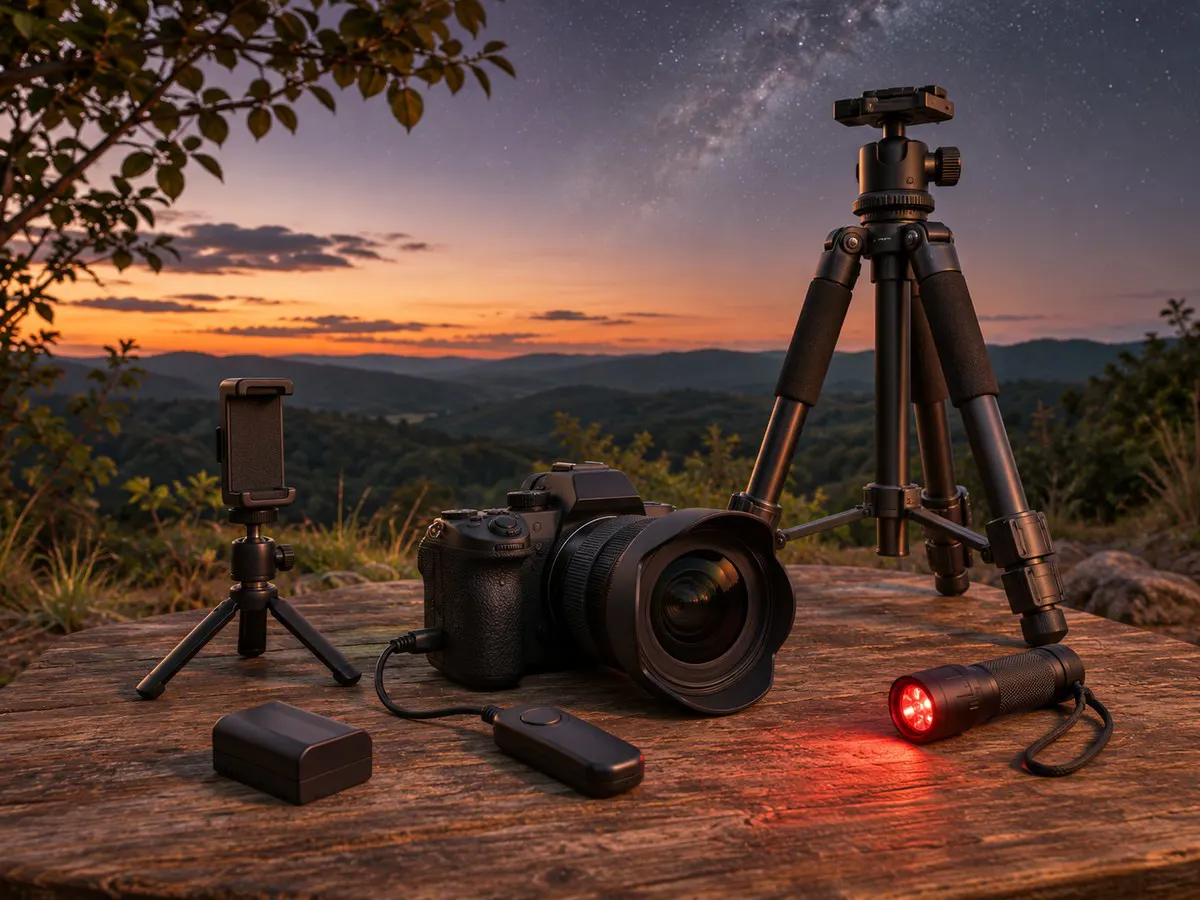
The essentials are a camera with manual control of shutter speed, aperture, ISO and focus; a wide-angle lens with a large aperture; and a sturdy tripod. A remote shutter release, or the two-second timer, prevents camera shake at the click.
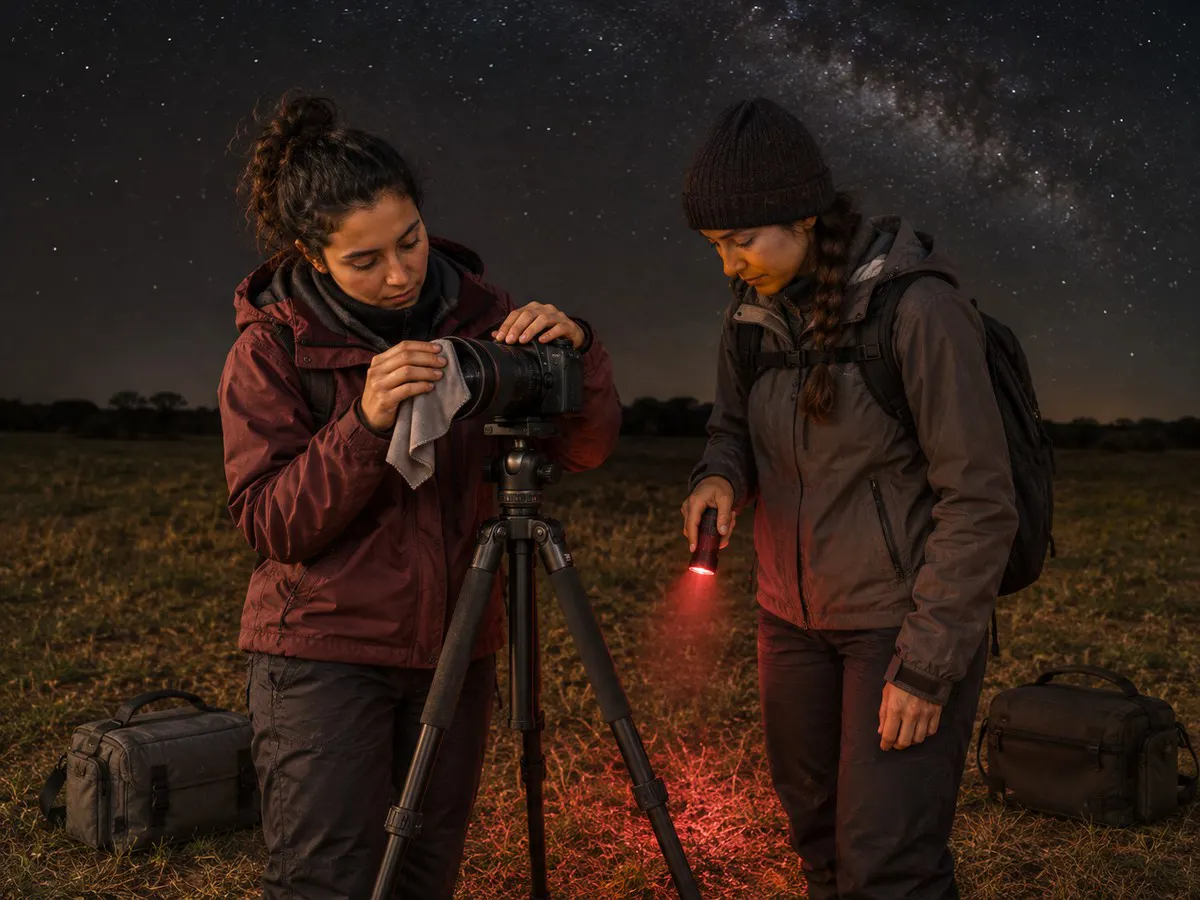
A spare battery is necessary because cold and long exposures consume power. A red-light flashlight lets you operate buttons without losing night vision or disturbing others.
Your phone also works. Devices with night mode or pro/manual mode, mounted on a small tripod, can capture constellations and, under very dark skies, the Milky Way band. Without a tripod, prop the device on a rock or backpack and use the timer.
Settings to start with
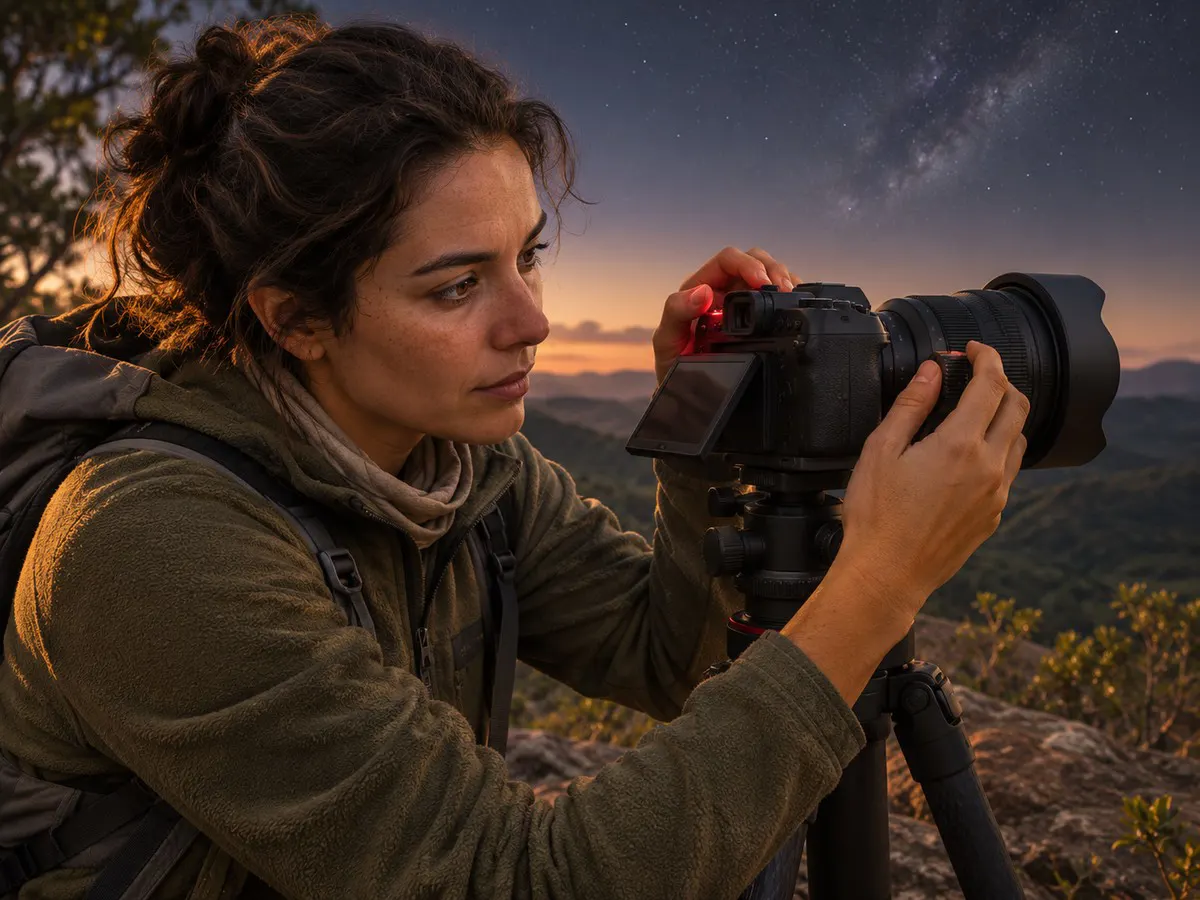
Use manual mode and open the aperture as wide as possible. For exposure time, a common starting point is the 500 rule: divide 500 by the lens focal length to get, in seconds, the maximum shutter time before stars become trails. With a 20 mm lens, that’s 25 seconds. Very high-resolution cameras may require shorter exposures.
ISO will be high, between 1600 and 6400 depending on the camera. Take a test shot, magnify it on the screen and adjust: if stars are elongated, reduce the shutter time; if the image is too dark, increase the ISO.
Focus is manual. Point at a bright star, zoom in on the camera’s screen and turn the focus ring until it becomes the smallest possible point. Then don’t touch the ring again. Shoot RAW, which preserves more information for post-processing.
What to photograph
The Milky Way is the main subject. The galaxy’s center, the brightest part, is visible at night from February to October. planning apps show where it will be at each hour and help align it with the foreground.
Star trails are the reverse effect: instead of freezing the sky, you let it turn. You take a sequence of dozens or hundreds of images and stack them later, or make a single very long exposure. Pointing south, the trails form circles around the celestial pole.
The Moon requires a different technique: short exposures and a longer lens, because it is very bright. Meteors are captured by continuous sequences during shower peaks. The foreground can be gently lit with a weak flashlight for one or two seconds.
When and where to shoot
Nights to choose are new-moon nights and dry air. In central and southeastern Brazil, the dry season, from May to September, coincides with the season for the galaxy center.
Parque Estadual do Desengano, in Santa Maria Madalena, in northern Rio de Janeiro state, is a dark-sky park with facilities for astrophotographers. In Serra da Canastra, in São Roque de Minas, there are lodgings that offer astrophotography workshops and guided observing. In Foz do Iguaçu, Iguaçu National Park has nighttime astrophotography activities.
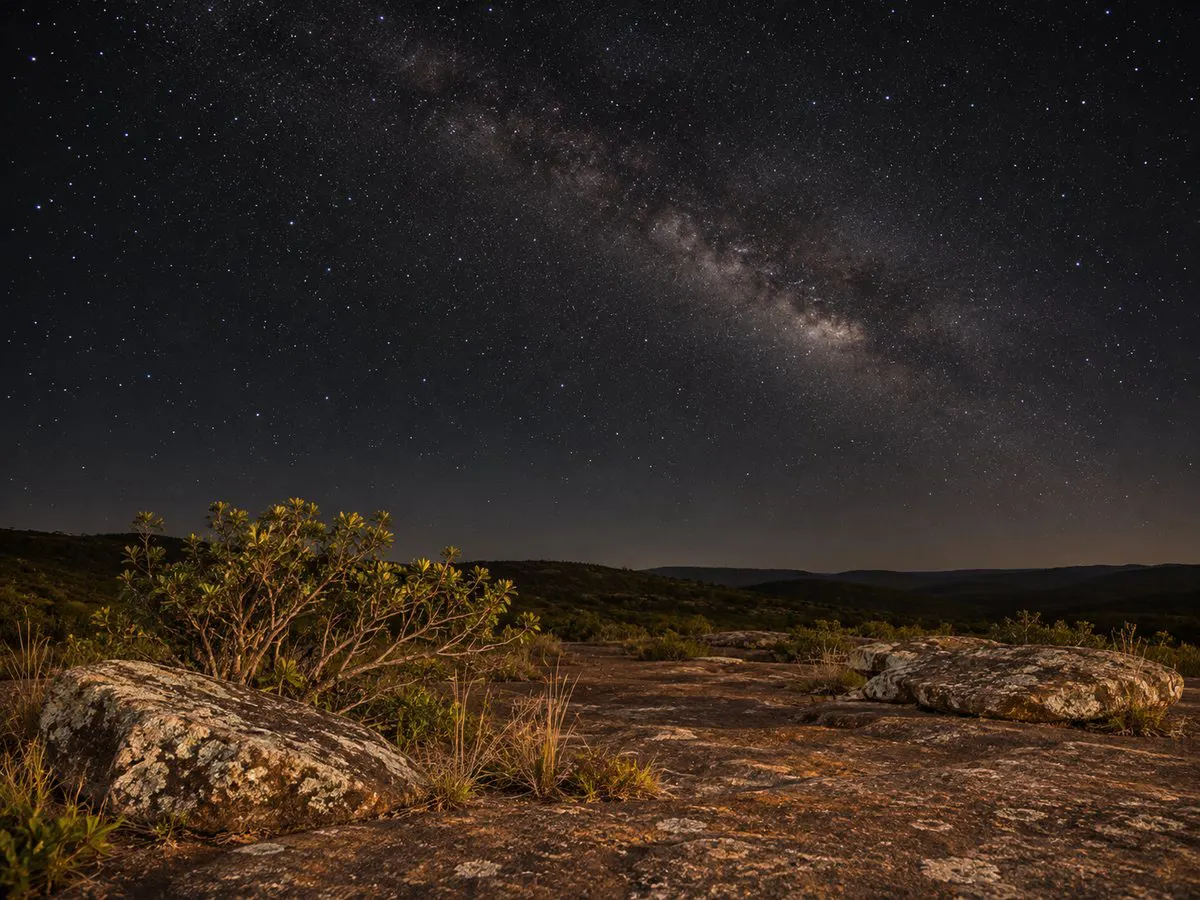
Places with striking ground features yield the most sought-after compositions: rock slabs, stone ridges, dunes and isolated trees. Towns appear on the map of this page.
Field safety
Visit the location by day to choose your framing and learn the terrain: at night you can’t see holes, fences or cliff edges. Go with someone and let your lodging know where you’ll be.
In parks, check whether nighttime entry is allowed; many close at sunset and only open for scheduled activities. On private property, ask permission.
Dew wets the lens at dawn, and a dry cloth solves it. Warm clothing, thin gloves and something to sit on make the wait easier. White light, headlights and flash ruin a neighbor’s photo: agree on signals with your group.
How to choose an outing or workshop
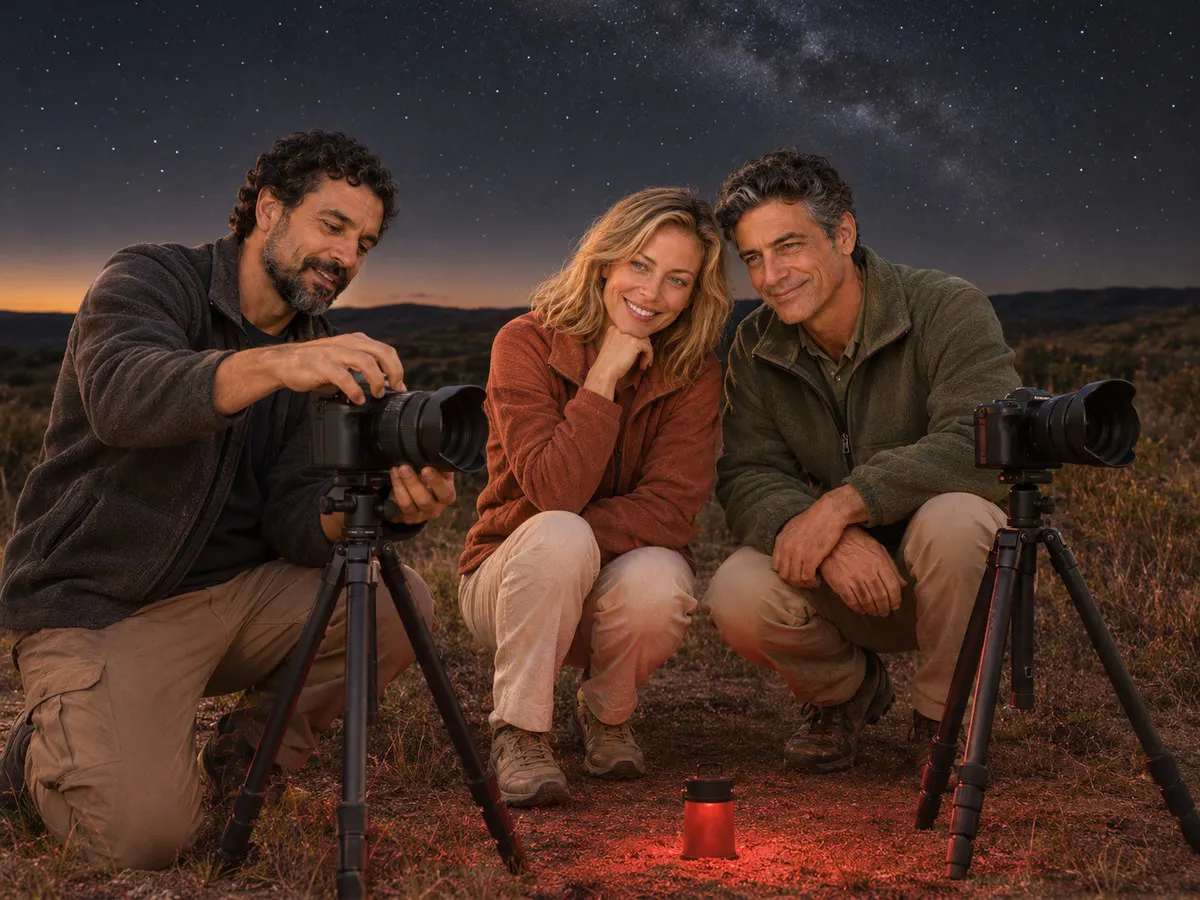
A guided photo outing shortens the learning curve: the instructor takes you to a tested spot at the right date and time and helps with the settings for each camera. Ask how many participants each instructor handles, whether there is equipment to borrow or rent, whether the outing is suitable for phones and what happens if the sky is cloudy.
Also ask if photo editing is part of the program. When the outing is sold by a tour guide or agency, check the Cadastur registration, the Ministry of Tourism’s registry.
The price varies with duration, transport, group size and equipment loan: check the current rate table.
Frequently asked questions
How to photograph the Milky Way?
In a dark location on a moonless night, with the camera on a tripod, manual mode, a wide-angle lens at the maximum aperture, high ISO and an exposure of 15 to 25 seconds. Focus is manual, done on a bright star.
Can you photograph stars with a phone?
Yes, with phones that have night mode or manual controls, mounted on a tripod or well supported. Under dark skies they can record constellations and the Milky Way band. The timer prevents shake from tapping the screen.
What is the 500 rule?
A simple calculation for the maximum exposure time before stars trail: 500 divided by the lens focal length, in seconds. It’s a starting point to check with a test shot.
What ISO for star photography?
Between 1600 and 6400, depending on the camera and how dark the location is. Higher ISO brightens the image but increases noise. Test and find the balance.
Do I need a telescope to photograph the sky?
Not for nightscapes, the Milky Way, star trails and meteors, which are done with a wide-angle lens. A telescope is used for photographing planets, nebulae and galaxies, which is a different specialty.
How to focus on the stars?
Turn off autofocus, point to the brightest star, magnify the camera’s live view and turn the focus ring until the star becomes the smallest point. Then don’t touch it again.
Why do stars appear as streaks in photos?
Because the Earth rotates and the sky moves during the exposure. Reduce the time, using the 500 rule as a reference, or embrace the effect and make a star-trail photo.
Where to go: Sky photography
Pick a region or a state on the map, or type what you are looking for, to see the cities and who offers it in each.
-
São Roque de Minas MG
Hospedagens da Serra da Canastra com oficinas de astrofotografia e observação guiada.
-
Foz do Iguaçu PR
Astrofotografia no Parque Nacional do Iguaçu.
More activities in Astrotourism
Beyond the guide


